
How to Organize Recorded Music After Capture
 By HenrikUpdated Aug 16, 20266 min read
Build a cleaner recorded music library by checking playback, filenames, metadata, artwork, lyrics, formats, folders, and backup copies.

A recorded music library gets messy when capture is treated as the finish line. The file may play, but the title might be wrong, the cover art might be missing, and the folder may fill with names like track01.mp3.
The fix is a small review routine. Do it after each session and the library stays usable.
The Short Answer
Use this order:
- Play the recording.
- Remove silent, wrong, or accidental files.
- Decide whether fragments should be kept, merged, or deleted.
- Check title, artist, album, cover art, and lyrics where relevant.
- Rename files with a predictable pattern.
- Keep only the final formats you need.
- Back up the cleaned library.
Do not start with tagging. If the audio is wrong, metadata only makes a bad file look more official.
Step 1: Review the Audio Before You Edit Tags
Open the saved file and check three points:
- The beginning, where silent setup time often appears.
- The middle, where the wrong source or notifications may show up.
- The ending, where the file may cut off or include extra playback.
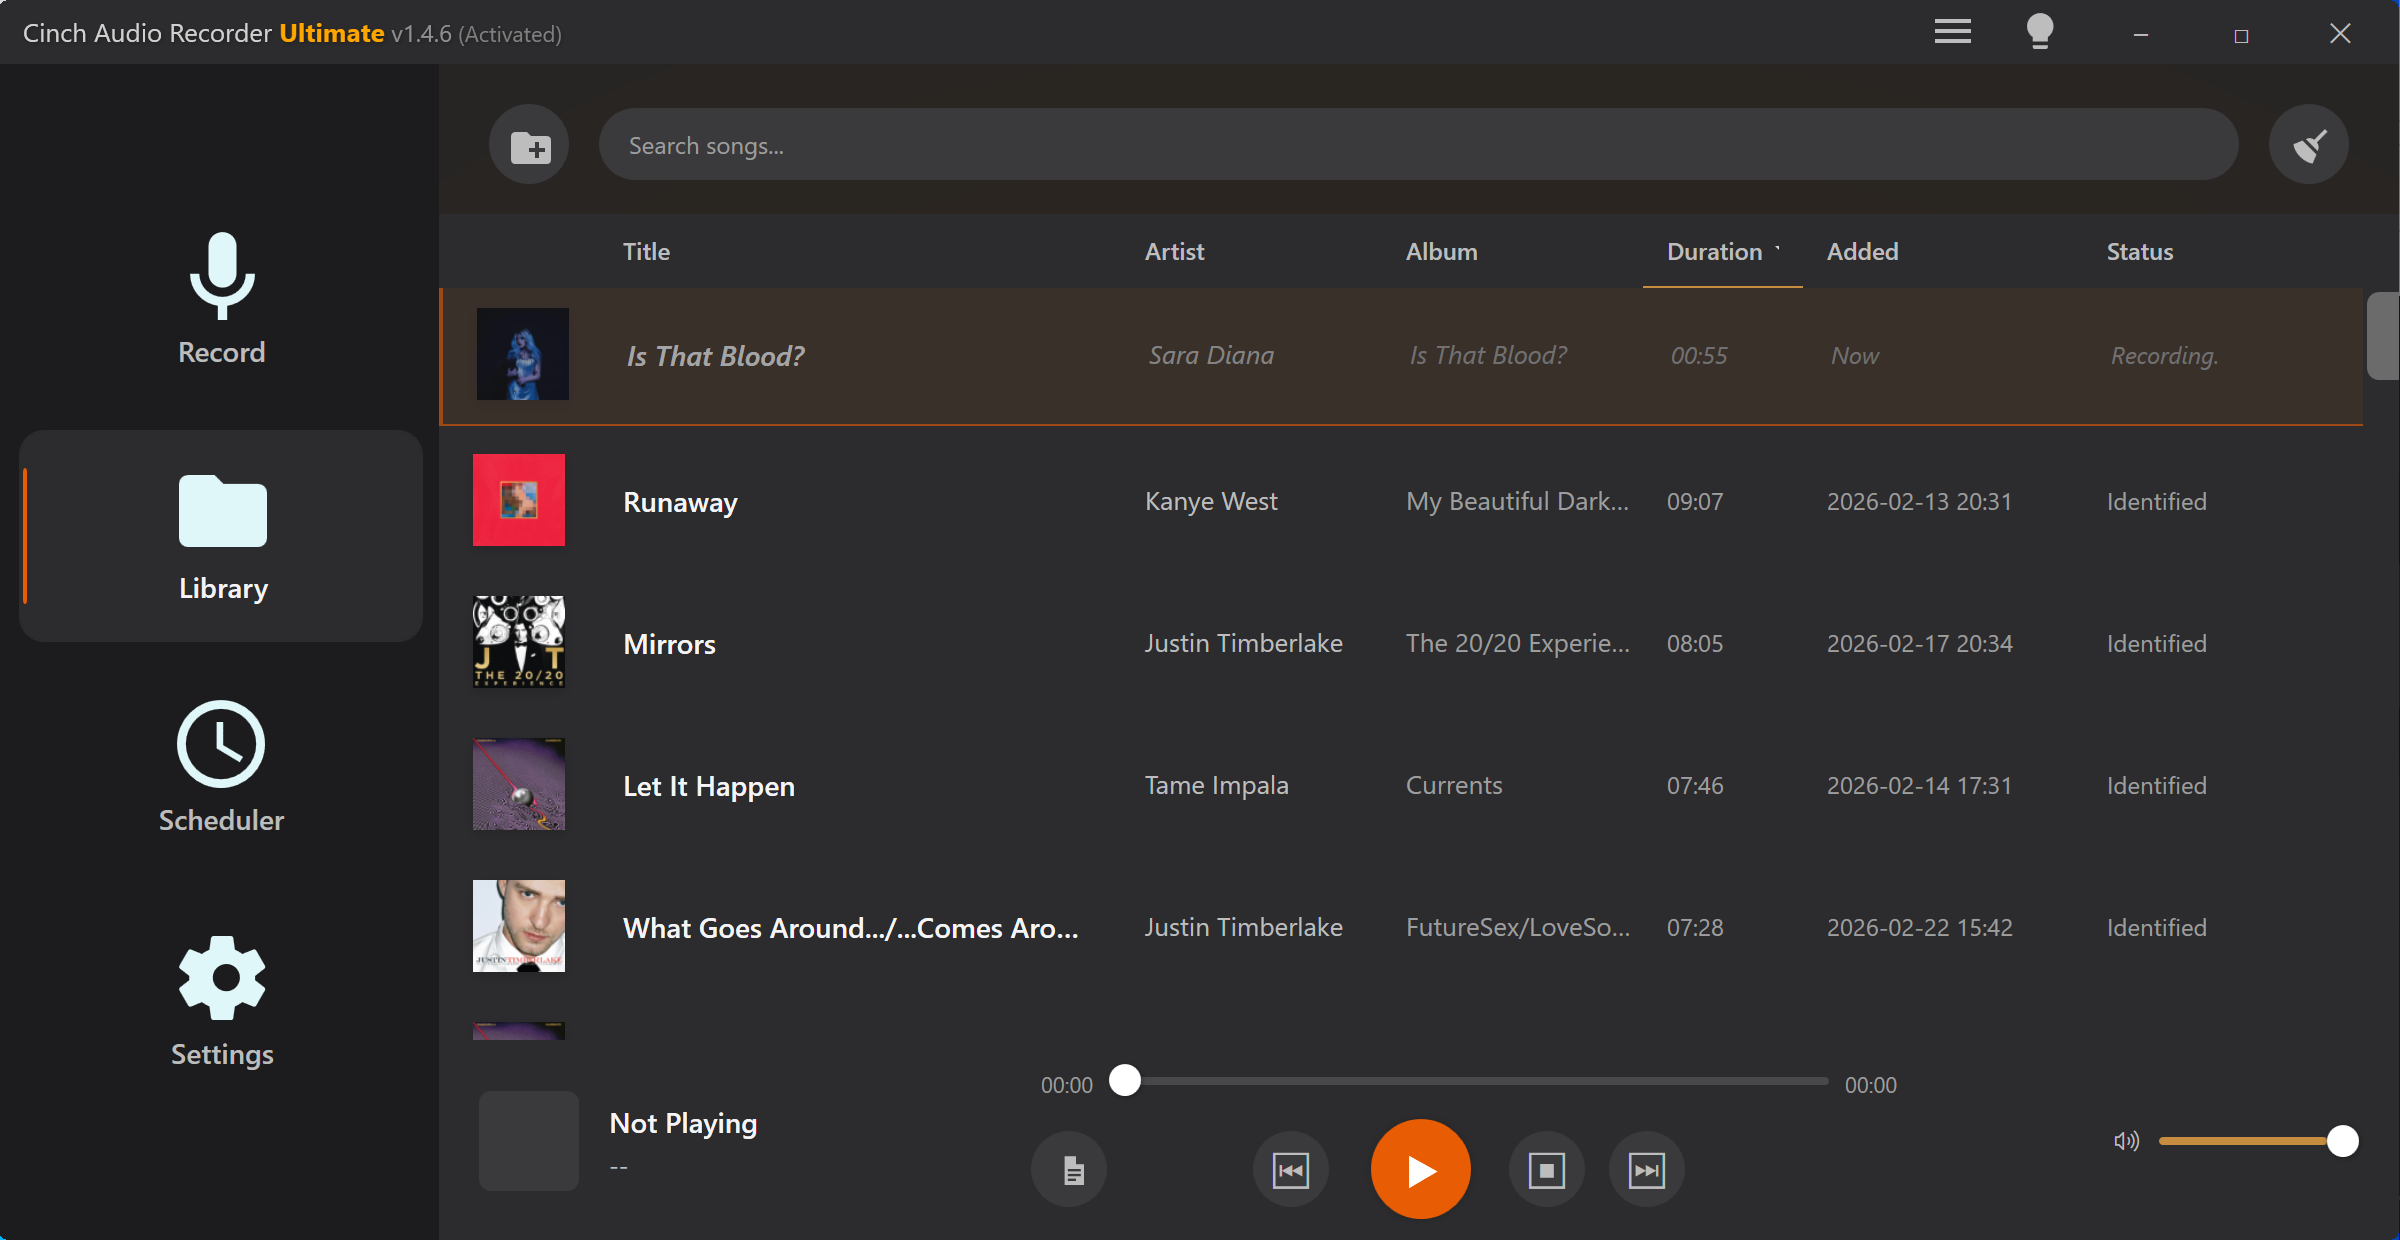
If the file is silent, use No sound recorded before editing anything. If the file is correct but rough, use Clean up recorded audio or the Recording Quality Checker.
Step 2: Sort Each File Into One of Four Buckets
After a session, do not rename everything at once. Sort first.
| Bucket | What It Means | Next Action |
|---|---|---|
| Keep | Complete recording with the right audio | Check metadata and filename |
| Trim | Good recording with dead air or extra sound | Cut clean edges first |
| Merge | Useful fragments from the same recording | Join only the parts that belong together |
| Delete or retry | Silent, wrong, tiny, or accidental capture | Remove it or fix the setup |
This prevents a common mistake: keeping every fragment because you are afraid of deleting the useful one. Listen, decide, then process.
Step 3: Use Filenames That Survive Outside the Player
Metadata helps inside music apps. Filenames help everywhere else.
For identified music, use:
Artist - Title.extFor album folders, use:
Artist\Album\01 - Title.extFor radio, live sets, or spoken segments, use:
2026-07-28 - Station - Show or Topic.mp3Do not rely only on a media player. If the file is moved to a USB drive, support folder, backup drive, or another app, the filename still needs to make sense.
For more naming patterns by source type, use the audio file naming guide before renaming a large batch.
Step 4: Check Metadata Like an Editor
For music, review:
- Title
- Artist
- Album
- Track number
- Cover art
- Lyrics, if available
- Genre, only if you use it
- Comments, only when they add real context
Automatic metadata can save time, but it can also confuse remixes, live recordings, station IDs, covers, and short samples. Treat it as a suggestion until the audio confirms it.
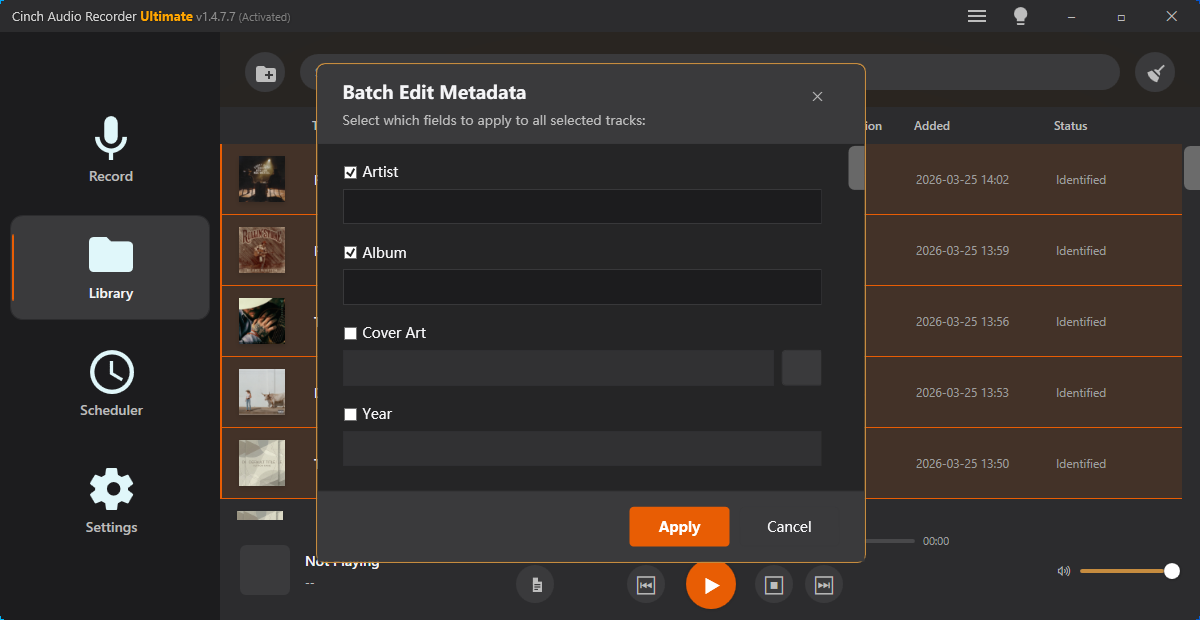
For a small correction, use the Audio Metadata Editor. When titles or artwork are missing, follow the metadata repair workflow so you inspect the file and fix only verified fields instead of guessing. For repeated recording sessions, Cinch Audio Recorder’s Library workflow is a better place to review, edit, and organize saved tracks after capture.
When cover art is the only missing piece, use the add cover art to audio guide after confirming the file and metadata are correct.
Step 5: Keep Formats Under Control
Duplicate formats can quietly double or triple your storage.
Use a simple rule:
- Keep MP3 or M4A for everyday listening.
- Keep WAV or FLAC only when the file is a working copy, archive, or editing source.
- Delete failed exports after confirming the final file plays.
- Do not keep both lossless and lossy versions unless each has a job.
If you are unsure which format fits, read Best audio format for recording before converting a full library.
Step 6: Use Tool Pages for Small Fixes
You do not need a full editing suite for every small problem.
Useful quick fixes:
- Audio Trimmer for dead air, bad starts, and unwanted endings.
- Audio Normalizer when the file is usable but too quiet.
- Audio Merger when adjacent fragments belong together.
- Audio Metadata Viewer when you need to inspect the file before editing.
- Audio Metadata Editor for title, artist, album, comments, and artwork.
Use browser tools for focused cleanup. Use the desktop recorder when the whole capture-and-library workflow is repeated often.
Step 7: Back Up the Cleaned Library
Back up after cleanup, not before. Otherwise you preserve the same silent files, wrong names, and duplicate exports in another location.
A practical backup habit:
- Keep one working folder for new recordings.
- Review and clean files there.
- Move finished files to the library folder.
- Back up the library folder to an external drive or cloud folder you already trust.
- Keep a small text note for unusual sessions, such as source, date, or manual edits.
Do not make the library dependent on memory. The file and folder names should explain themselves later.
A Clean Session Checklist
Before you close the recorder:
- Did the recording play correctly?
- Did you delete failed test files?
- Did you trim or merge only the files that needed it?
- Do title, artist, artwork, and filename match the actual audio?
- Did you choose one practical listening format?
- Did you keep a working copy only when needed?
- Did the final library folder get backed up?
If this feels like too much manual work every time, use Cinch as the main recording and library workflow. Start with the Download Center, record one familiar track, and check whether the Library output matches the way you want to store files.