
How to Record Online Radio Without Losing the Useful Parts
 By HenrikUpdated Jul 29, 20265 min read
Record online radio, web streams, and long listening sessions with fewer interruptions, better filenames, and cleaner post-recording review.
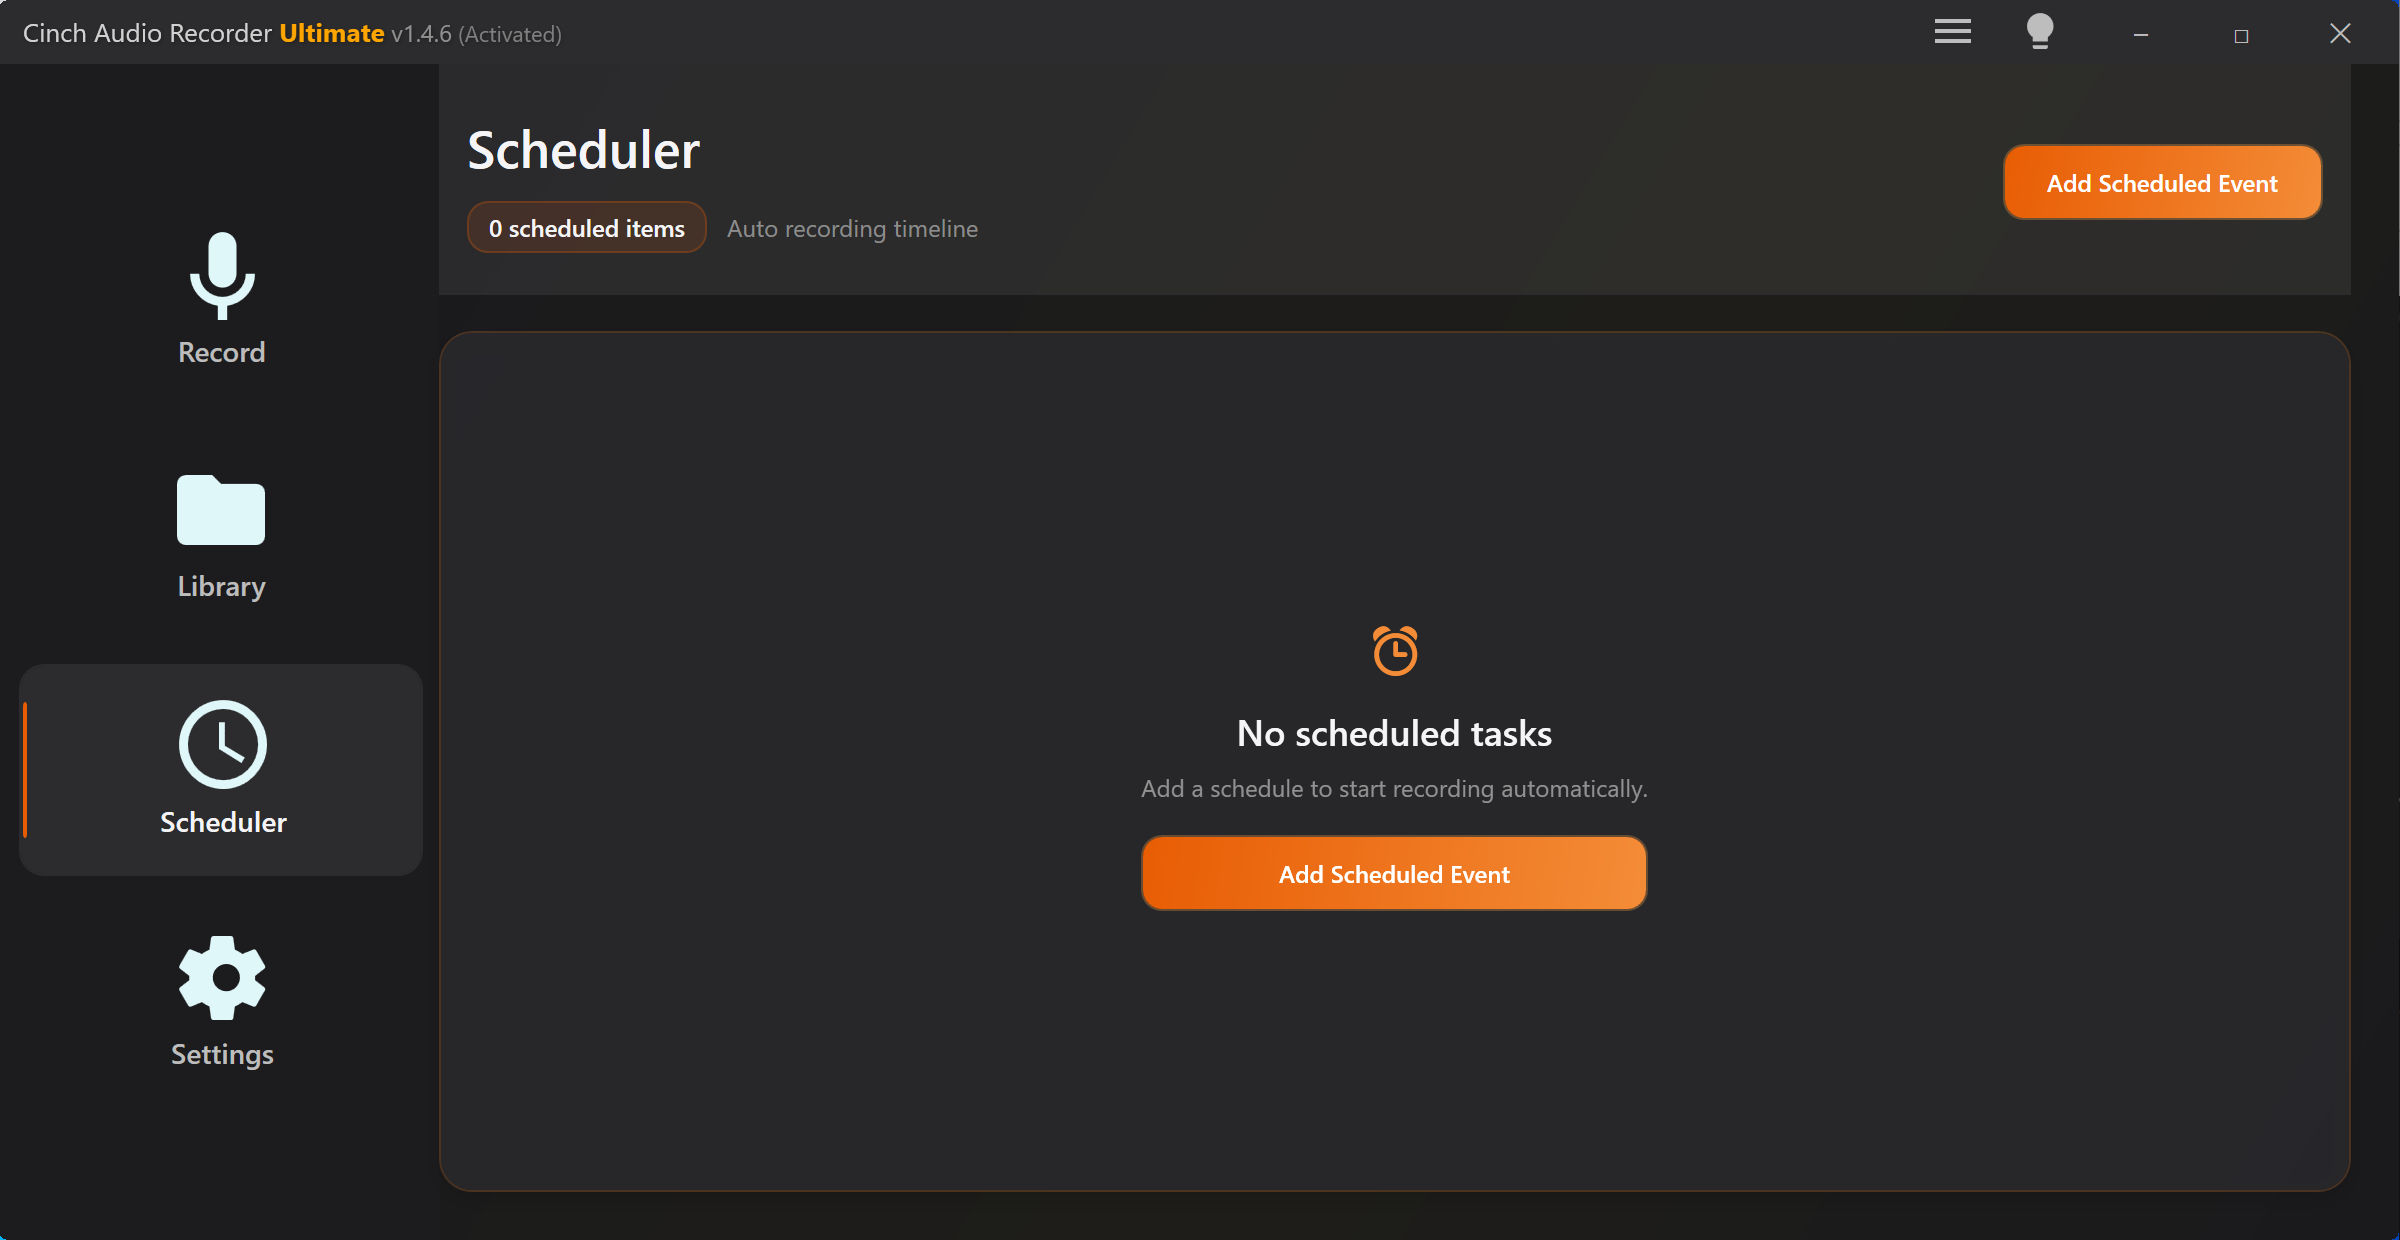
Online radio recording is a long-session problem. The stream may play for an hour, but the useful part might be one interview, one show segment, or several songs buried between jingles, gaps, and announcements.
The goal is not just to record everything. The goal is to keep the useful parts without losing track of what they are.
The Short Answer
Start with this order:
- Pick the radio page, web player, or app you want to record.
- Keep one output device connected for the whole session.
- Turn on Do Not Disturb and close noisy apps.
- Check disk space and prevent sleep.
- Record a short sample.
- Record the full session.
- Review the recording before trimming, splitting, or renaming.
If you only need a quick capture, a free loopback recorder can work. If you record radio regularly, use Cinch Audio Recorder so the session lands in a Library where you can review, rename, export, and clean up the result.
Before You Record Online Radio
Long streams need a little preparation.
| Risk | Why It Matters | What To Do |
|---|---|---|
| Sleep or power saving | The recording may stop or the stream may pause | Keep the computer awake |
| Notifications | Alerts can be captured during quiet segments | Turn on Do Not Disturb |
| Device switching | Bluetooth or HDMI changes can create silence | Use one stable output device |
| Storage | Long WAV files can be large | Choose a format and output folder first |
| Stream buffering | Gaps can create fragments or silence | Test the source before the full session |
Do not start with a three-hour show. Record one minute, play it back, and confirm the result.
If previous radio recordings stopped before the show ended, use the recording stops unexpectedly checklist before retrying. It helps separate sleep, storage, source playback, and device-switch problems.
Method 1: Record Online Radio With Cinch
Use Cinch when you want a repeatable local workflow for radio, shows, interviews, or music streams.
- Open Cinch Audio Recorder.
- Open the radio page, station app, or web player.
- Choose your normal speaker or headphone output.
- Start recording in Cinch.
- Start the radio stream.
- Record a short sample and check the Library.
- Run the full session only after the sample is clean.
After the session, do not immediately convert or delete anything. Open the file, listen to the beginning, middle, and end, and decide whether it should stay as one show or be split into useful segments.
If the entire show saved as one continuous file, use the recording is one long file guide before cutting it into tracks or chapters. It keeps the review step ahead of naming and export work.
Method 2: Use a Free Recorder for One-Off Radio Capture
A simple loopback recorder can work for one-time radio recording:
- Select the loopback or system playback source.
- Start recording.
- Play the station.
- Stop when the show or segment ends.
- Export and review the file.
This method is fine for a short spoken segment. It becomes manual when you need scheduled sessions, repeated stations, file naming, or music cleanup.
Naming Radio Recordings
Use practical names that make sense weeks later.
Good patterns:
2026-07-28 - Station Name - Morning Show.mp3
2026-07-28 - Interview - Guest Name.wav
Station Name - Live Set - 2026-07-28.mp3
Avoid names like:
recording-final.mp3
radio-new.wav
track01.mp3
If the radio recording contains music and metadata is available, check it before trusting it. Live shows, station IDs, ads, and spoken segments can confuse automatic identification.
Best Settings for Online Radio
| Recording Type | Suggested Format | Notes |
|---|---|---|
| Spoken show or interview | MP3 or M4A | Small files are usually enough |
| Music-heavy stream | MP3/M4A for listening; WAV/FLAC for editing | Check segments before splitting |
| Long archive | MP3 for size; FLAC/WAV only when needed | Watch storage space |
| Clip extraction | WAV while editing, then MP3/M4A | Keep a clean working copy if you will cut sections |
For long streams, the best format is often the one you can store, find, and play reliably. Do not create giant lossless files unless you have a reason.
For a fuller preflight checklist, use the best settings for long audio recording guide before a multi-hour show, class, playlist, or live stream.
Troubleshooting Radio Recordings
The recording stopped early
Check sleep settings, power saving, network buffering, and whether the browser or app stopped playback. Make another shorter test with the same station, then follow the recording stops unexpectedly checklist if the pattern repeats.
The file contains notification sounds
Turn on Do Not Disturb and close noisy apps before recording again. This is especially important for quiet talk-radio segments.
The session created several fragments
Review the fragments before merging. Some may be station IDs, ads, buffering gaps, or accidental starts.
The recording is too large
Use MP3 or M4A for ordinary listening. Keep WAV or FLAC only when the recording needs editing or archiving.
Related Solution Guides
- Record streaming audio without quality loss
- Record browser audio cleanly
- Best settings for long audio recording
- Recording stops unexpectedly
- Recording is one long file
- Clean up recorded audio
- Fix first recording problems
- Download Cinch Audio Recorder
Frequently Asked Questions
Can I record online radio from a website?
Yes, if the radio stream plays through your computer’s normal output and your recorder captures that output. Always follow the station’s terms and applicable law.
What format should I use for online radio?
Use MP3 or M4A for compact listening files. Use WAV or FLAC only when you need a working copy for editing or archiving.
How do I record a long radio session without interruptions?
Use one stable output device, disable notifications, keep the computer awake, check storage space, and make a short test before the full session.
How do I split songs or segments from online radio?
First review the recording. Keep complete sections, trim clean boundaries, and use metadata or manual names only when you can verify what each segment contains.