
How to Clean Podcast Audio After Recording
 By HenrikUpdated Aug 16, 20267 min read
Use a practical podcast audio cleanup checklist for trimming, speaker balance, silence, volume, metadata, and final listening checks.
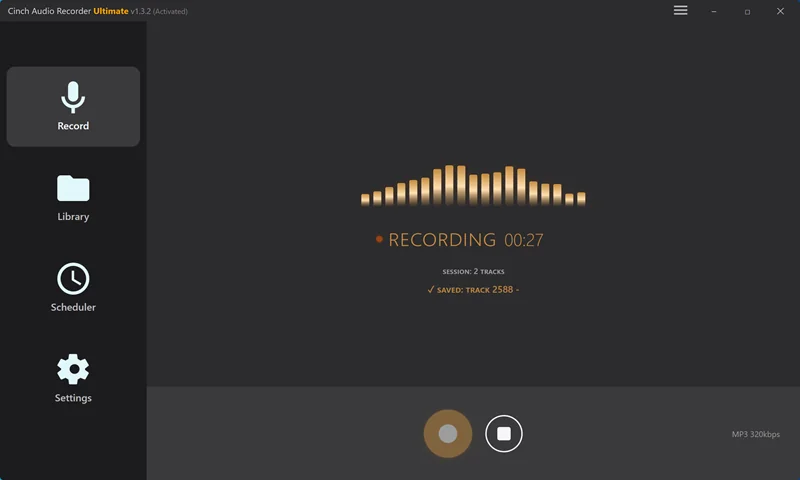
Podcast cleanup is easier when you do it in the right order. If you normalize first, then cut silence, then discover that one guest track was misaligned, you end up repeating work. A simple checklist keeps the session calm: protect the originals, fix timing problems, make speech easier to follow, then prepare the finished file.
This guide is for recorded podcasts, interviews, voice notes, lessons, and conversation audio. It is intentionally tool-led. It does not promise broadcast mastering, platform compliance, or magic noise repair. The goal is a practical cleanup pass that helps a human editor make better decisions.
Keep Originals Before Editing
Before touching a file, make a folder that separates raw audio from edited copies.
Podcast Episode 014
  01 Raw
  02 Cleanup Copies
  03 Export
  04 Notes
Keep the raw folder unchanged. Work on copies only. This matters because cleanup tools can shorten audio, re-encode a file, or make a track harder to repair later. If the edited copy sounds wrong, you want a clean way back.
For a recorded show with multiple speakers, keep each speaker track separate until timing and level problems are understood. If you only have one mixed file, still save a raw copy before trimming or normalizing.
Run a First Listening Pass
Listen before processing. You do not need to hear every second yet, but check enough to understand the shape of the recording.
| Check | What to listen for | Next action |
|---|---|---|
| Beginning | Long setup noise, count-in, silence, wrong microphone | Trim or mark the start point |
| Middle | Speaker level mismatch, interruptions, dropouts | Compare tracks before mixing |
| End | Dead air, outro mistakes, accidental extra recording | Trim the endpoint |
| Random spot check | Clipping, hum, echo, background music, keyboard noise | Decide whether the source is usable |
If the file is silent or captured the wrong source, cleanup is the wrong job. Go back to the first recording troubleshooting checklist before investing time in edits.
When background music masks the host or guest, use the audio ducking calculator to plan the music reduction before applying broad volume changes.
Step 1: Trim the Obvious Edges
Start with edits that almost never require creative judgment:
- Remove setup talk before the real start.
- Remove the empty tail after the conversation ends.
- Cut accidental false starts only when you are sure they are not needed.
- Leave a small breath of room tone at the beginning and end so the file does not feel chopped.
For a simple local edit, use the Audio Trimmer on a copy. If the recording includes many long pauses, do not cut them all manually yet. Trim the edges first, then decide whether silence removal is appropriate.
Step 2: Compare Speaker Tracks
If each person was recorded separately, compare the tracks before applying volume changes. A guest who is 8 dB quieter than the host should be handled differently from a guest who clipped during recording.
Use the Podcast Track Balance Checker to find:
- Speaker tracks that are much quieter or louder than the others.
- Clipping risk that volume reduction cannot truly repair.
- Long quiet sections that may need trimming or gating.
- Duration mismatch that suggests alignment problems.
Treat its RMS suggestion as a triage signal, not a final loudness target. It helps you decide what to fix first. It is not a full LUFS, true-peak, or delivery-compliance meter.
Step 3: Remove Dead Air Carefully
Silence removal can make a conversation tighter, but aggressive settings can also make speech feel nervous and unnatural. Work in small steps.
Use the Audio Silence Remover when a copied file has obvious dead air. Start with balanced settings, preview the result, and listen for clipped consonants, missing breaths, or awkward jumps.
| Audio type | Safer approach |
|---|---|
| Interview or conversation | Keep more padding so responses feel natural |
| Lecture or solo voice note | Moderate removal can work if words stay intact |
| Fast panel discussion | Avoid aggressive cuts because overlap and breaths matter |
| Noisy room | Silence detection may mistake background noise for speech or speech for noise |
If the dead air is part of timing, comedy, emphasis, or a natural pause, keep it. Cleanup should make the episode easier to listen to, not remove the human rhythm.
Step 4: Normalize Only After Timing Fixes
Normalize a copy after trimming, alignment, and obvious silence cleanup. Otherwise you may boost parts that later get removed, or make background noise more noticeable before you understand the edit.
Use the Audio Normalizer for a basic file-level volume adjustment. Then listen again. If the voice becomes harsh, the room noise jumps up, or loud laughs distort, undo that copy and use a gentler setting.
For multi-speaker work, do not normalize every track blindly. First bring the speaker tracks into a reasonable range, then export a mixed copy, then check final volume. A one-button volume pass cannot replace listening to the conversation.
Step 5: Check Quality Before Export
Before making the final file, run one last technical sanity check:
- Is speech clear without obvious clipping?
- Are speaker levels close enough that listeners do not keep changing volume?
- Did silence removal leave any awkward cuts?
- Is the final file shorter for a good reason, not because speech was removed?
- Does the beginning start cleanly and the ending stop cleanly?
The Recording Quality Checker can help spot clipping, silence, and basic level issues before you export or share the file. Use it as a warning light, then confirm with your ears.
Step 6: Name and Tag the Finished File
Podcast files are easier to manage when the filename and metadata describe the episode without requiring memory.
Use a clear pattern such as:
PodcastName - 014 - Guest Topic.mp3For working copies, add a version label:
PodcastName - 014 - cleanup-v1.wav
PodcastName - 014 - final.mp3
If you need title, artist, album, year, or cover art, use the Audio Metadata Editor for supported browser-safe edits. If artwork is the main issue, the add cover art to audio guide explains when MP3 or FLAC saving is enough and when another workflow is safer.
Finish-Line Checklist
Use this list before you publish, send, or archive the episode:
- Raw files are still unchanged.
- Edited files are saved as copies.
- Beginning and ending are trimmed.
- Speaker tracks are aligned or the mixed file has been checked.
- Very long dead air has been reviewed, not blindly removed.
- Volume is comfortable without obvious clipping.
- The final file has a useful name.
- Metadata and cover art are correct where they matter.
- The exported file has been reopened and played after saving.
When the file is a recorded stream rather than a podcast, use the broader clean up recorded audio guide. When the episode came from a long session, the best settings for long audio recording can help prevent the same cleanup problems next time.
Related Tools and Guides
- Podcast Track Balance Checker
- Audio Trimmer
- Audio Silence Remover
- Audio Normalizer
- Recording Quality Checker
- Audio Metadata Editor
- Compare Podcast Guest Track Levels
- Calculate Drift Between Two Recordings
- Cut Podcast Clips That Stand Alone
- Clean up recorded audio
Frequently Asked Questions
What should I clean up first after recording a podcast?
Start by saving the original files, then check whether the audio is complete and intelligible. Trim mistakes and align tracks before changing volume or removing silence.
Can browser tools master a podcast episode?
No. Browser tools are useful for quick checks, trimming, simple silence removal, and basic volume fixes. Final podcast mastering still needs listening judgment and, for strict delivery targets, a proper loudness meter.
Should I normalize audio before or after removing silence?
Usually trim and remove obvious dead air first, then normalize a copied file. This avoids boosting sections that you planned to delete anyway.